Since I made a few more flour sacks, I went through my drawer and pulled all the old ones. Even though they are a bit stained they still make great rags. Plus, you can always do something creative with the embroidered part later. (Somebody put in a lot of work to stitch up that pretty little corner!)
I suddenly had a pile of rags that needed a place…so I whipped up a rag bag. I mean seriously whipped it up! 15 minutes.
It hangs from a ribbon loop.
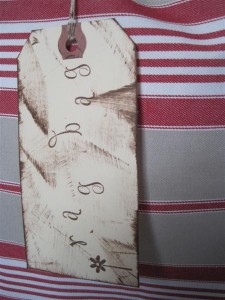
A stamped tag so Tony and guests know what it is.
A little rick-rack around the hole.
Such a sweet little project. A pretty place for your rags.
Directions:
-Cut your fabric. I used ticking and cut it 41″x15″. If you cut it long like this, you will not have to sew the bottom of the bag because it will be a fold edge.
-Fold your fabric in half with right sides together, 20″x15″ and pin.
-Take a 6″ piece of ribbon, or whatever, and fold it in half. Along the top of the pinned edge, place the folded ribbon on the inside of the bag. You want the raw edges of the ribbon to line up with the raw edges of the bag on the 15″ end.
-Sew around the 3 sides. You don’t have to leave an opening!
-Use a bowl or plate, anything round, and trace a circle on the wrong side of the fabric. Being very careful to only cut through one layer of fabric, cut out the circle.
-Turn bag right side out through the hole you just cut.
-Take some rick-rack, and sew it on the raw edge of the circle.
Ta-da! Happy rag bag!


