I think I always enjoyed doing stuff in the kitchen, but when I entered into the Barlow family I really developed a love for cooking/baking. I take great pride in putting good meals on my family’s table and filling our freezer with homegrown or locally grown products. I’m more on the garden side of the freezer stuff…Tony’s on the meat side. (However that might change soon since I really would like to get my hunter’s safety completed.) Anyways, I’m babbling. Soooooo, Saturday my mother-in-law called for a salsa and sauce day. I picked up about a bushel and a half of tomatoes and the same of apples. The whole family got to work right away in the morning.
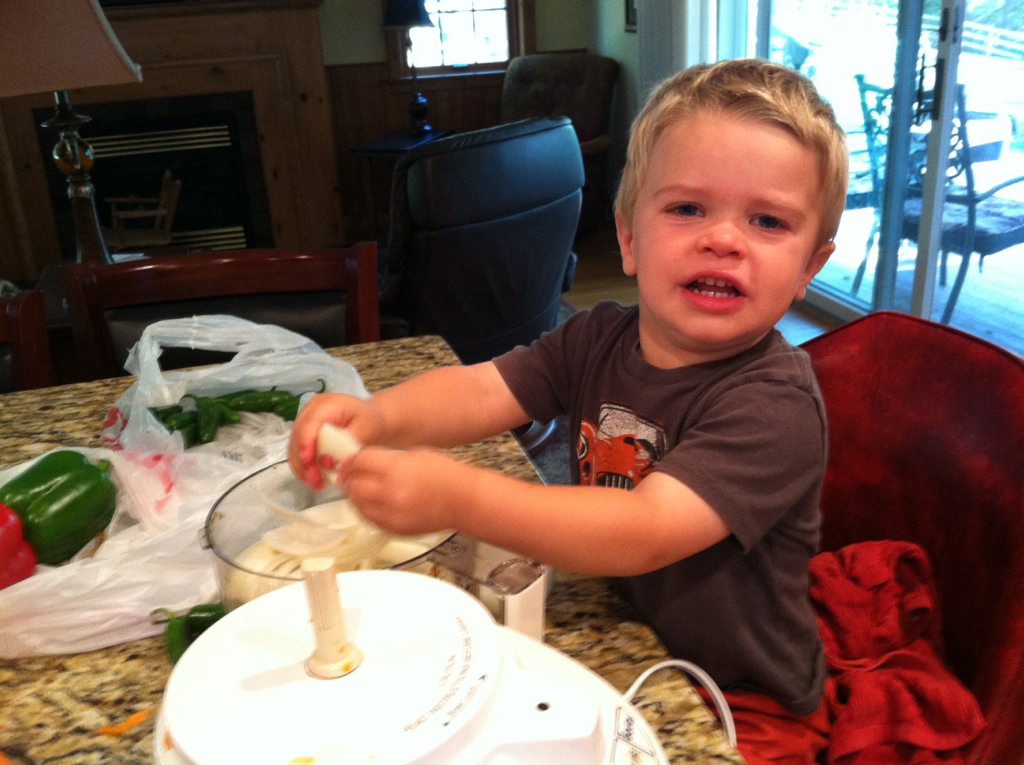
Elias and grandpa were slicing onions for the salsa.

Next thing we know, this guy has tears running down his face. He didn’t really know what was going on, but “I ok, I ok.”
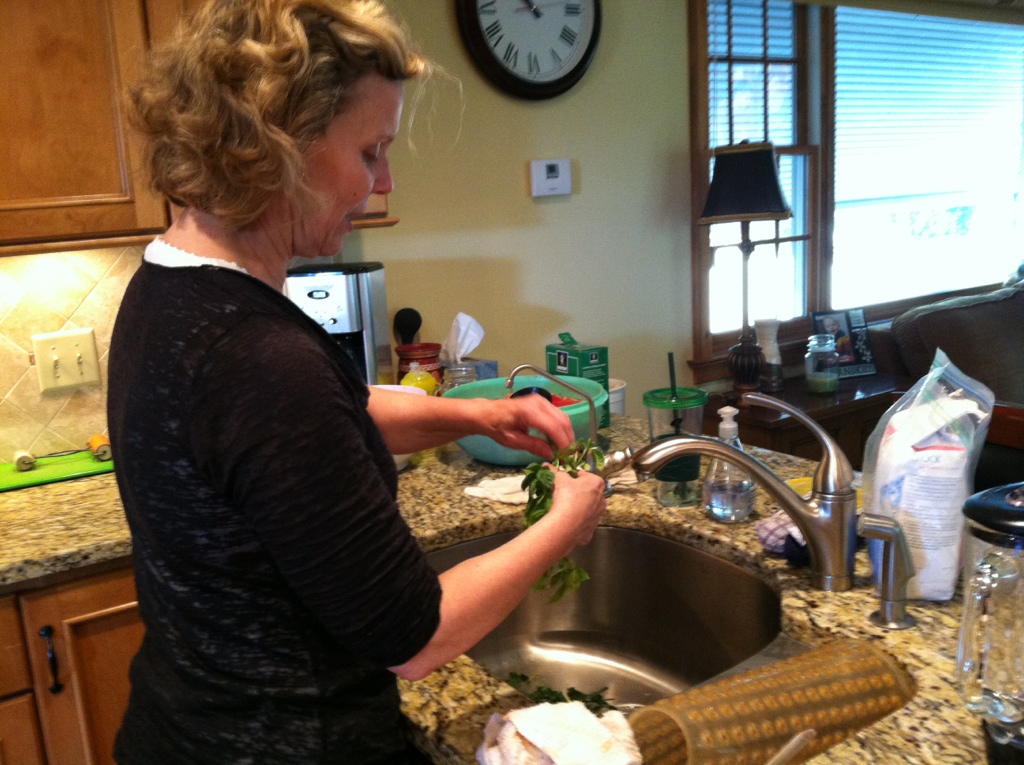
Grandma collected herbs from the garden.
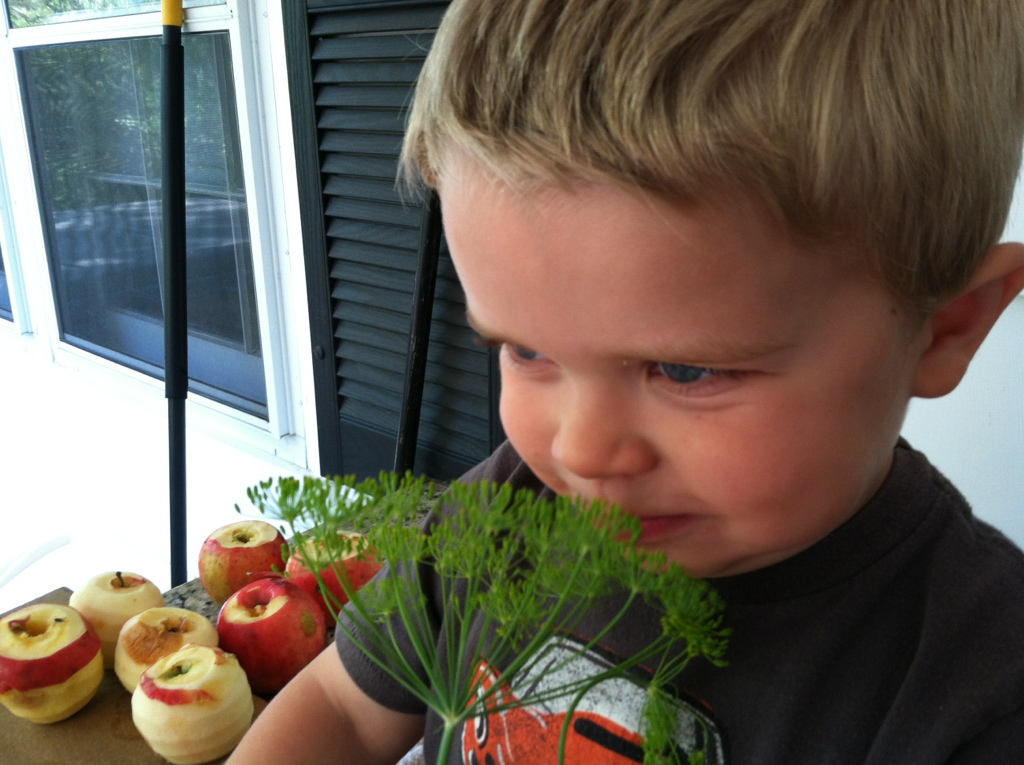
A bit of fresh dill makes the new skill of sniffing so much fun.
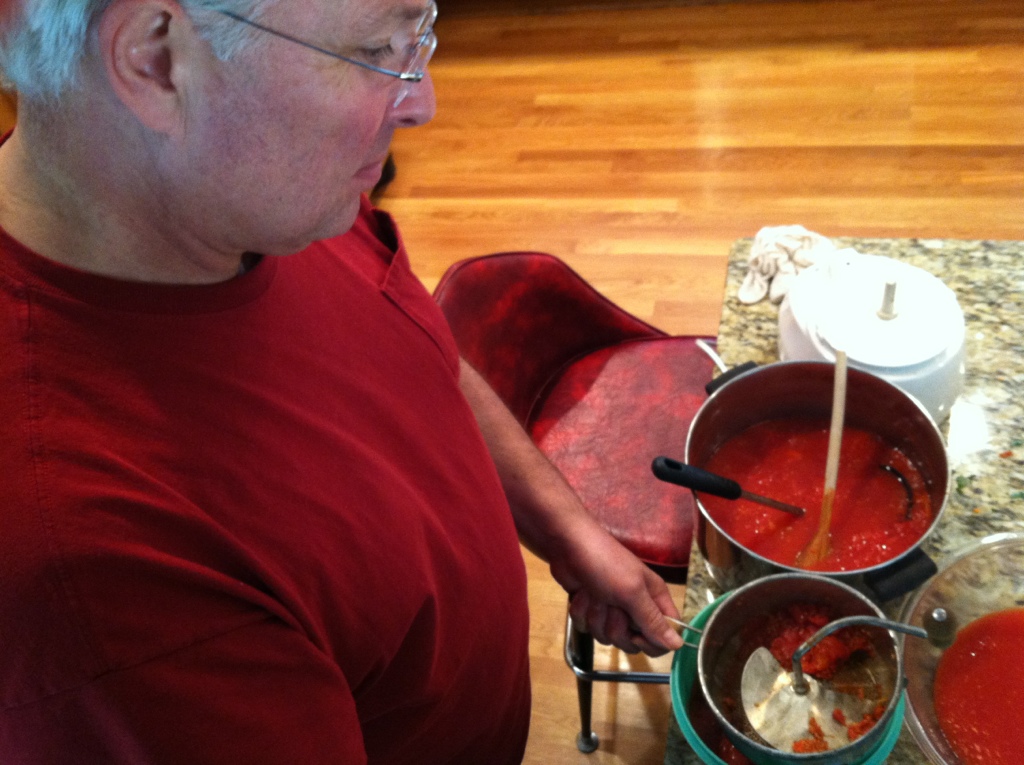
Grandpa used an old food mill to remove some of the tomato seeds from the sauce. I guess they like making some sauce with less seeds for things like soup and chilli bases. Makes sense. The food mill was pretty slick and the fact that it was Great Grandma Max’s made it rather charming.
Getting close! We had all the burners on the stove going plus the burner on the grill outside. We were machines!
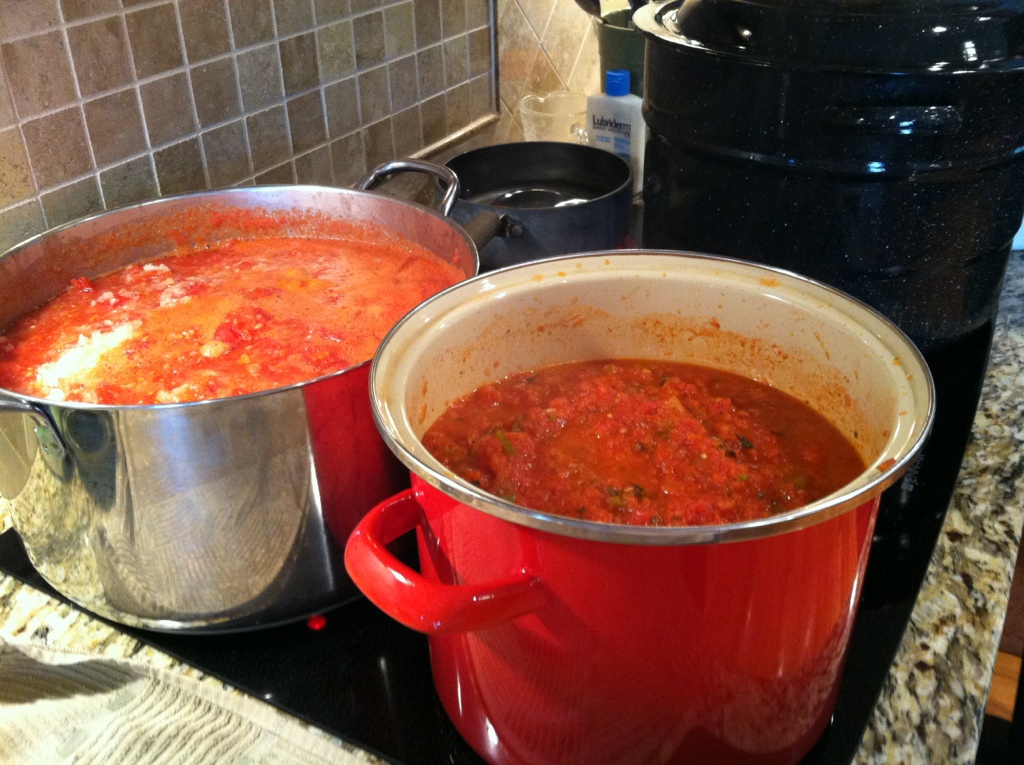
Some of the tomato sauce we freeze with meat already in it. It makes it super easy to throw a meal together. Another brilliant idea from my mother in law. Tony was recruited to prep it.

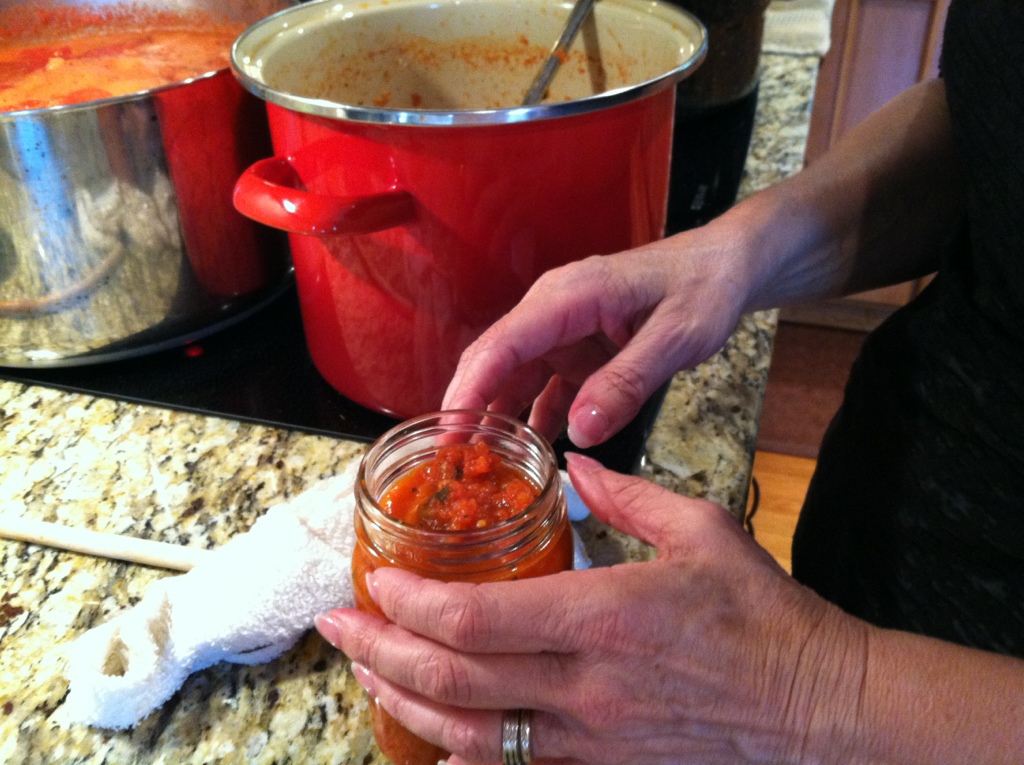
I haven’t done much canning (I usually just freeze everything) so Kriss gave me pointers. I made a list at the end of the post for those of you who want to try. It’s really not hard!
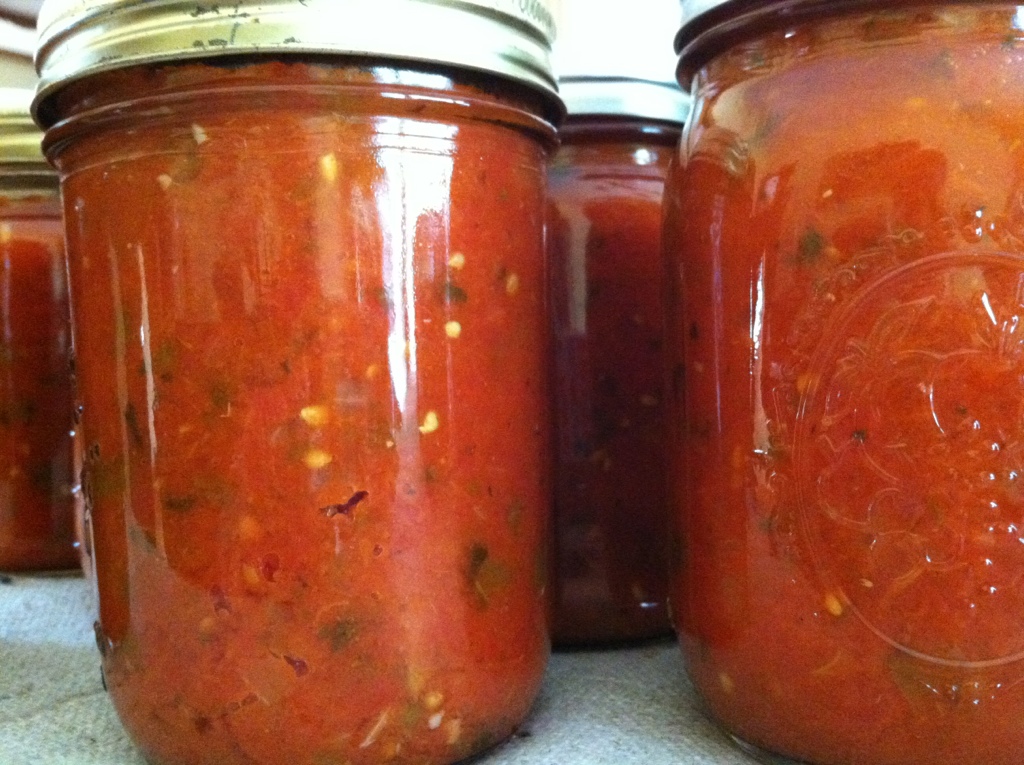
Some of the finished goodness. This is my standard version of basic sauce. I used a blender this year to get it a little less chunky…Tony’s request. Onions+garlic+green peppers+skinned tomatoes+salt+pepper+lots of herbs+smidge of sugar. Perfect for pizza and pasta all year round! I love never having to buy spaghetti or pizza sauce at the store.
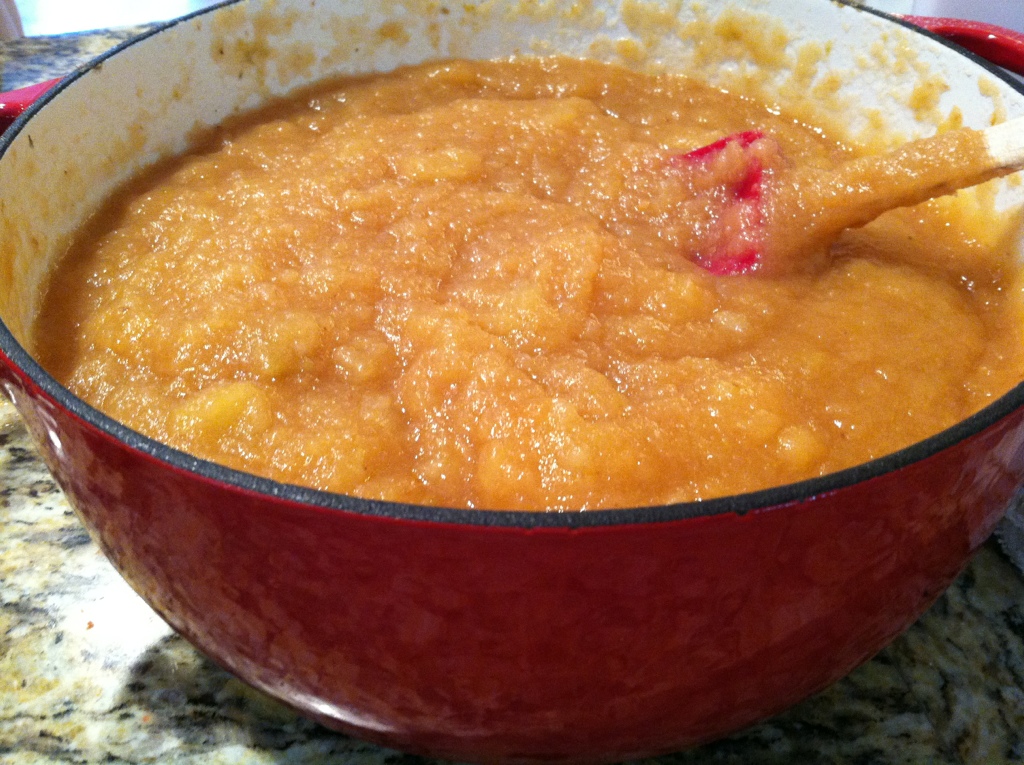
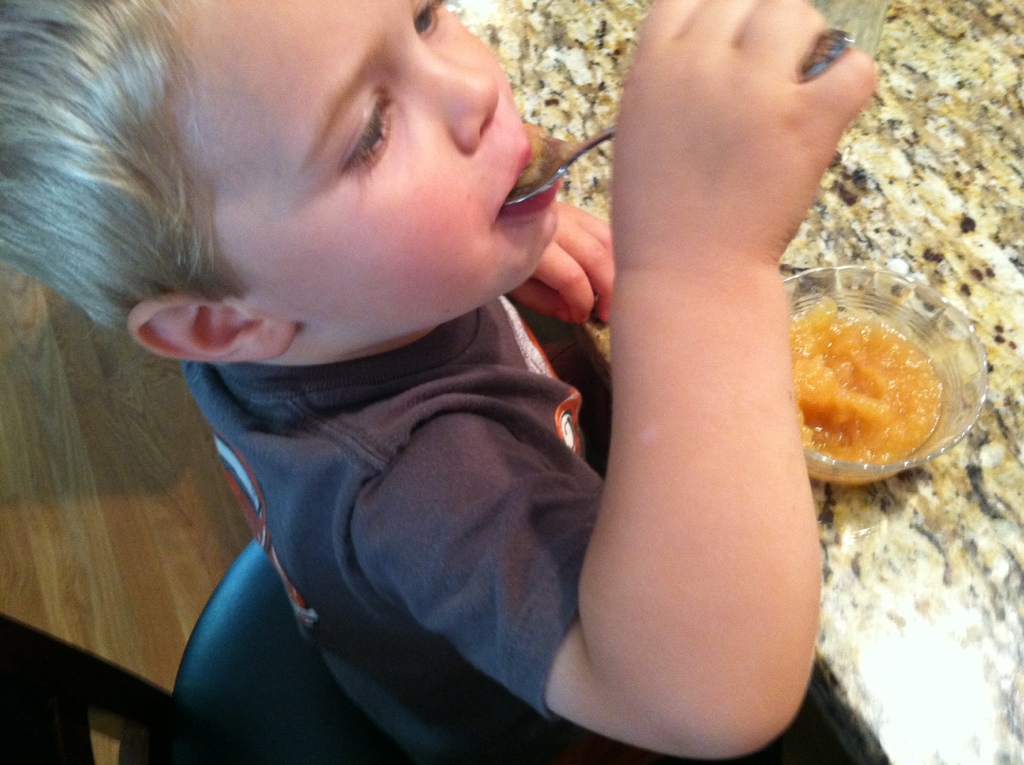
On to the applesauce. It is soooo easy! When we go to the orchard we always ask about collecting apples off the ground–aka windfall apples. They are super cheap and make for great sauce. This year we found an amazing orchard that I will blog about next. I supplied my family with a year of applesauce for $10. Pretty good! And the taste…nothing like homemade. All there is to it…peeled and sliced apples+a cup of water for a whole pot full if you think you need it+a little sugar to taste=done!
Elias approved!
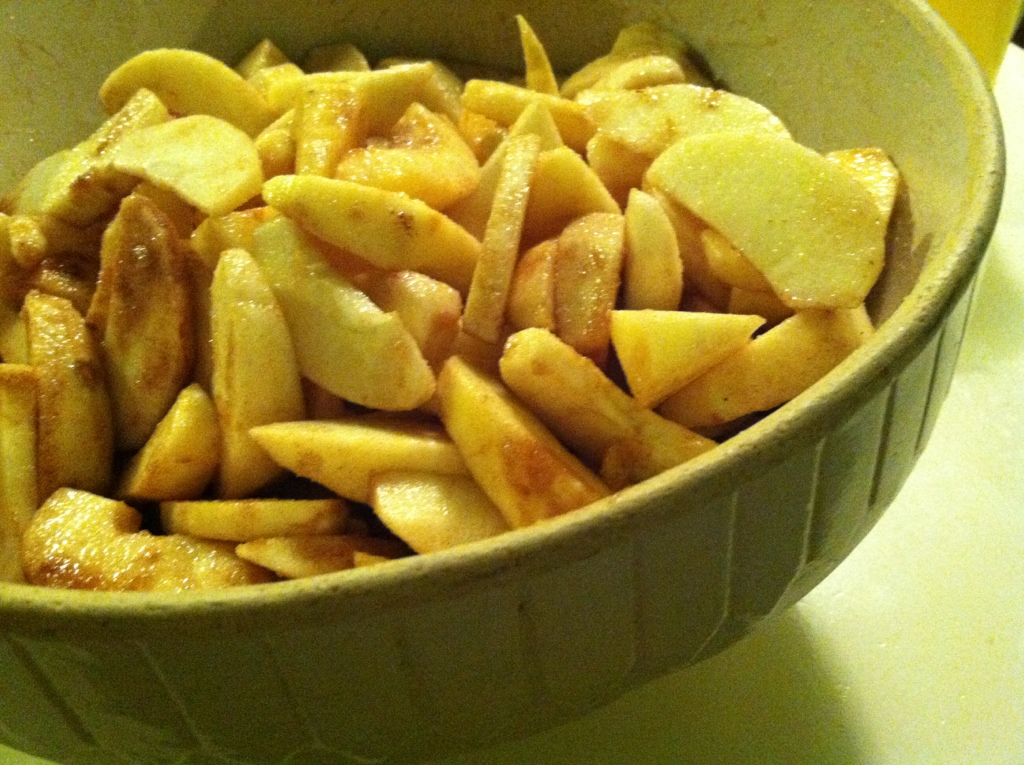
I also made about 12 bags of slicedapples+lemon juice+cinnamon/sugar. I froze these so that I could make pies, scones, muffins, pancakes, etc through the year. Kind of an experiment so no guarantees on how they will hold up.
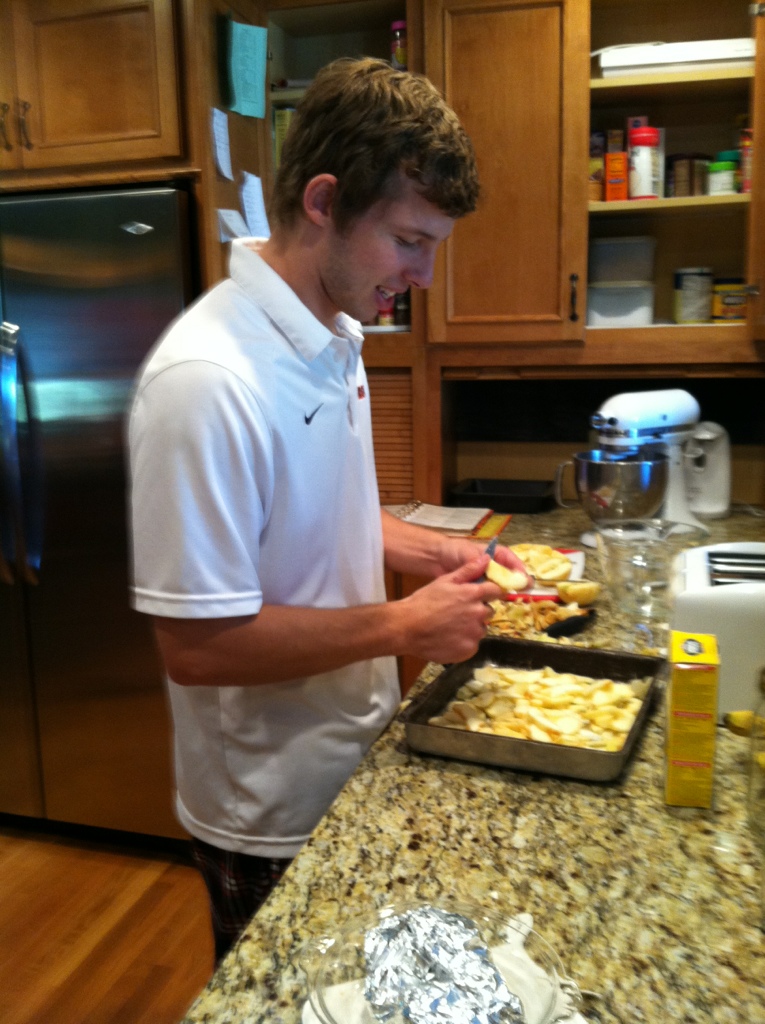
Uncle Greg was put to work cutting apples for the apple crisp. It was fantastic! A crisp is always a sure bet–don’t skimp on the crunchy topping!
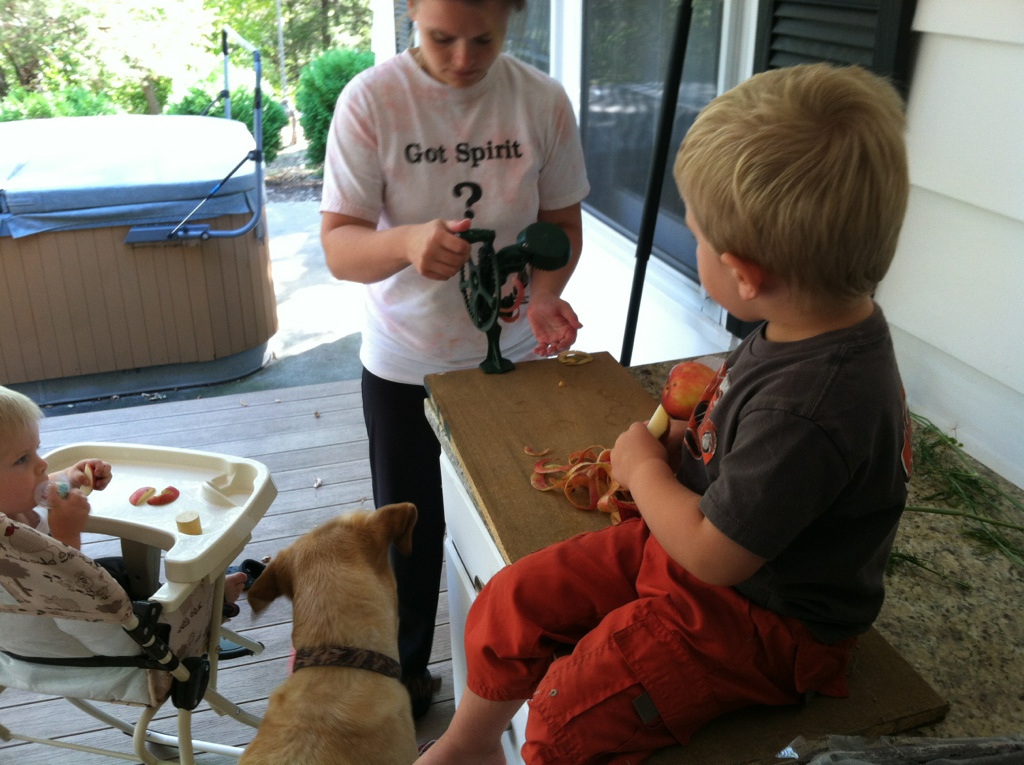
I attempted using a very cool old apple peeler, but really apples collected off the ground are usually easier to just hand peel in my mind.
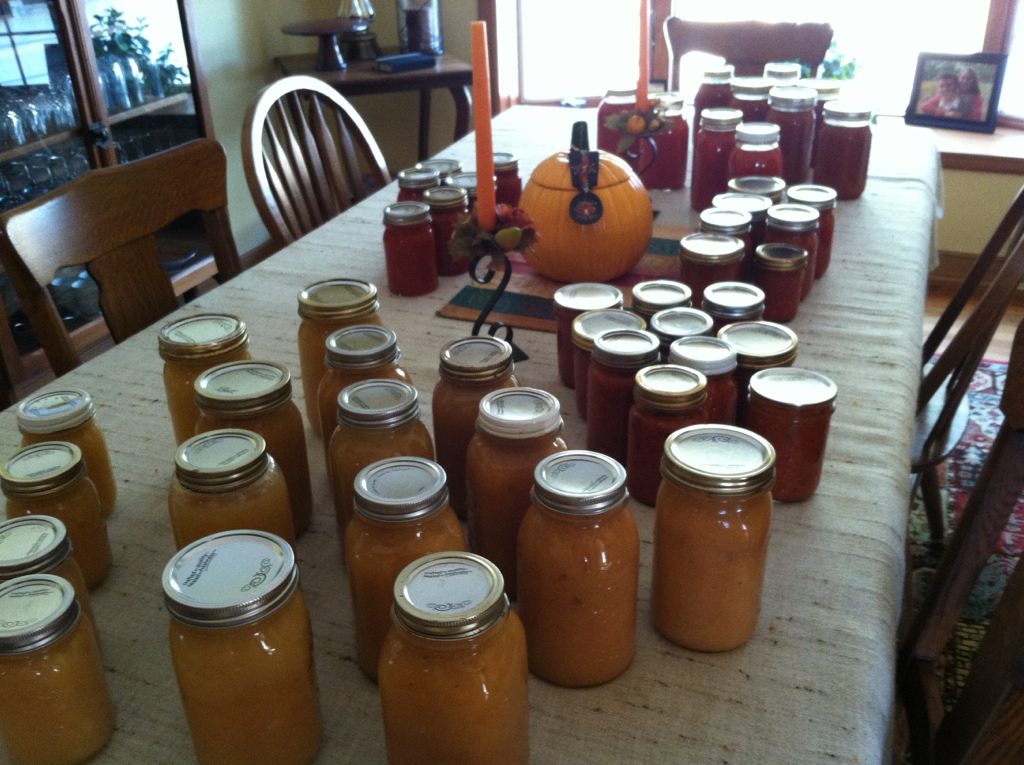
Just some of the loot after our long day. A lot of work in the fall, but summer goodness come January. I’m so thankful for this stuff all year long!
Canning Directions: (This is just an easy method. There are books written about this, so if you want more detailed step-by-step, check one out.)
-Get your big canning pot full of boiling water.
-Get a second smaller pot full of boiling water for your lids and bands (you can reuse bands year to year, but you are supposed to get new lids each year)
-Clean your jars
-Dip your clean jars in the boiling big pot of water just for a minute or so
-Take your hot goods (sauces for us) and fill your hot jars
-Fill them within a quarter inch of the top
-Wipe the rim of the jar with a clean rag to make sure nothing dripped
-take a hot lid and band out of the small pot of boiling water and place on jar
-boil the full jars upright in the big canning pot of boiling water for 12 minutes
-remove and let jars cool without moving around too much
-once cooled, make sure your jars sealed
-We say sealed jars last 1-2 years.
Since I’m new at this canning stuff, feel free to leave comments and tips on it!! I’d love to hear what works for you!!