So many of my friends are getting into sewing and I can’t tell you how much I LOVE it!! I was sewing on some borders to a quilt last night and thought I’d take a few quick pictures to help share some of my tips on borders.
1. Work in a quilt shop. Just kidding…sort of. I learned sooooo much working in quilt shops from my co-workers and customers. I am so thankful for the experiences I had. If you are ever in the Eau Claire WI area, stop in to The Calico Shoppe! {I also worked in a shop in Brandon SD, but sadly, it is no longer. sniff, sniff.} Bottom line, find your local quilt shop–they are awesome resources!!
Ok. Back to border tips.
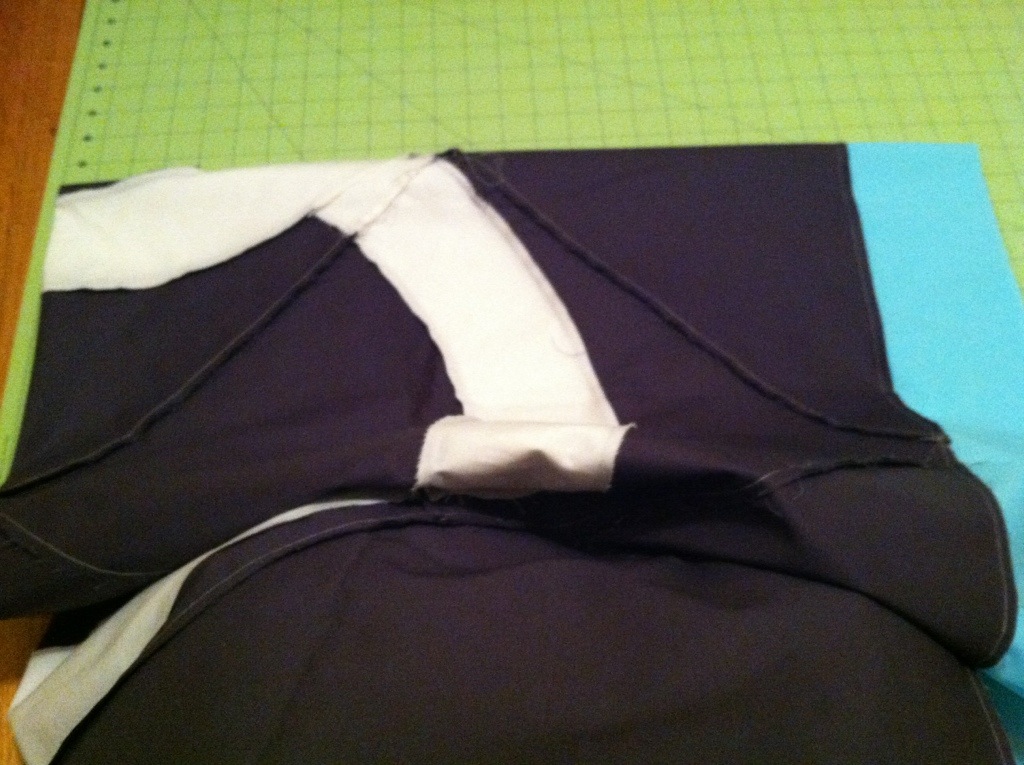
2. Usually when you add a border, you have something you are putting it around….like the center of the quilt that you have already pieced. When you add a border it is always important to measure your center. Even if the pattern tells you what to cut, you should measure because your measurements might be slightly different. The other part of this measuring is that you do it through the center of your quilt and not the ends. The reason for this is to help you square up your quilt better. Sometimes the bottom edges of your quilt center will flare out or in and by measuring through the center you help even out those imperfections.
3. Pinning. Make a crease by pressing with your fingers in the center of the border and the center of the quilt edge where you are going to add the border. {Oh, and you typically add side borders first, and then the top and bottom borders!} Pin at the center marks. Then put a pin in at the ends of the border. Then add a pin between the center and end pin. Keep pinning this way until you are comfortable–some people pin a lot, others hardly at all.
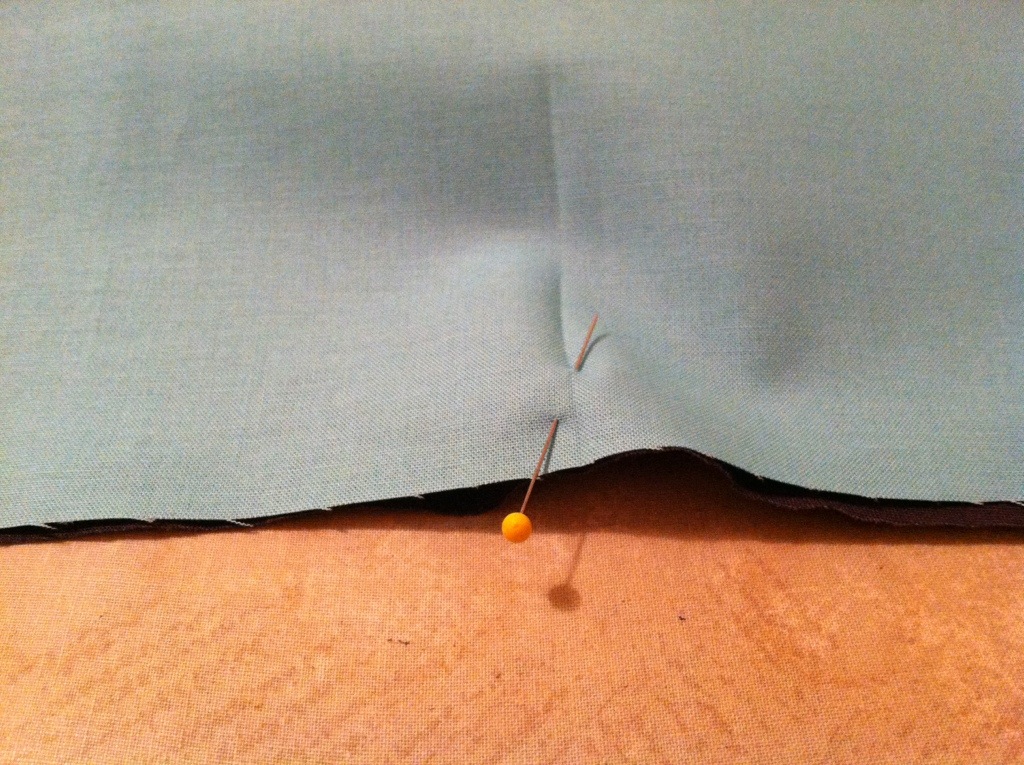
4. Whenever you pin, always have your pin head to the outside of your work. This allows you to sew from either side and still easily be able to remove your pins when you get to them.
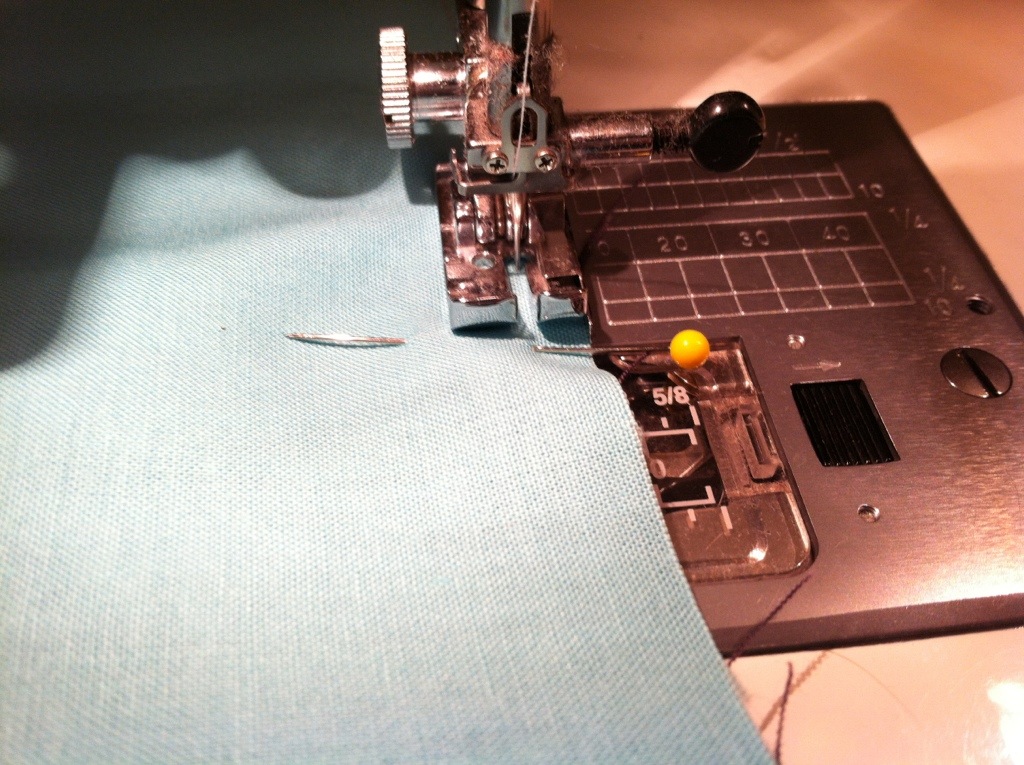
5. Sometimes your border may be slightly longer or shorter. Here’s one of my favorite tips. Always put whatever is slightly longer on the bottom next to the “feed dogs.” Feed dogs are the little teeth on the bottom of the sewing machine that help move your fabric. They will “eat up” some of that extra length by putting it on the bottom. Here’s a saying I picked up somewhere to help you remember. “You’d rather be saggy on the bottom than on the top.” Huh. Makes one think doesn’t it. 🙂
6. Press. Don’t iron. Press. Learn how to press well without distorting your work. If you don’t press well, your work will suffer with sloppiness.
7. A quarter inch is of utmost importance in precise sewing. It starts with cutting. Anything slightly off will just grow and grow by the time your quilt is done. Take the time to be accurate. Your quarter inch continues with the sewing. I sew using a “scant” quarter inch, but really by the time I’m done it is a full quarter inch. In the quilting world, a quarter inch is really rather big. Do your best!
8. Now that I’ve given you all these tips, I hope it doesn’t discourage you! If anything, do what works for you and have fun! Just get sewing! And of course you will get better and better each time you try something!
Let me know if you are sewing on anything! I love to hear/see what you are up to!!!